
Here is how you can install WordPress on Ubuntu with Nginx, MariaDB and PHP-FPM. In particular on Vultr‘s instance i.e. Ubuntu 19.10.
Prerequisites
- Have an Ubuntu 19.10 x64 instance.
- Logged in as a root with sudo privileges.
- Installed Nginx, MariaDB and PHP-FPM
Note: For demonstration purposes, we’re going to set up one domain on our Nginx server. The domain name we’ll use in this guide is yourdomain.com.
To get started with the installation of WordPress, follow the steps below:
Step 1: Create WordPress Database
To logon to MariaDB database server, run the following commands:
sudo mysql -u root -pThen create a database called yourname_live
CREATE DATABASE yourname_live;Now create a database user called yourname_live_user with a new password
CREATE USER 'yourname_live_user'@'localhost' IDENTIFIED BY 'your_password_here';And grant the user full access to the database.
GRANT ALL ON yourname_live.* TO 'yourname_live_user'@'localhost' IDENTIFIED BY 'your_password_here' WITH GRANT OPTION;Finally, save your changes and exit.
FLUSH PRIVILEGES;
EXIT;
Step 2: Download WordPress Latest Release
To get WordPress latest release, go to its official download page and get it from there. The following link is from where we can find latest WordPress archive versions.
cd /tmp
wget https://wordpress.org/latest.tar.gz
tar -xvzf latest.tar.gz
sudo mv wordpress /var/www/html/yourdomain.com
Now run the commands below to set the correct permissions for WordPress root directory and give Nginx control
sudo chown -R www-data:www-data /var/www/html/yourdomain.com/
sudo chmod -R 755 /var/www/html/yourdomain.com/
Step 3: Configure Nginx
Finally, configure Nginx site configuration file for WordPress. This file will control how users access WordPress content. Run the following commands to create a new configuration file called yourdomain.com.conf
sudo nano /etc/nginx/sites-available/yourdomain.com.confCopy and paste the following content into ‘yourdomain.com.conf’ file and save it. Replace the highlighted line with your own domain name and directory root location.
#yourdomain.com configuration
server {
    charset utf-8;

    # set max upload size
    client_max_body_size 2G;
    fastcgi_buffers 64 4K;

    listen 80;  # Listen for ipv4
    listen [::]:80; # Listen for ipv6
    server_name yourdomain.com www.yourdomain.com;

    root /var/www/html/yourdomain.com;
    index index.php index.html index.htm;

    location / {
        try_files $uri $uri/ /index.php?$args;
    }

    location ~ \.php$ {
        include snippets/fastcgi-php.conf;
        fastcgi_pass unix:/var/run/php/php7.3-fpm.sock;
        fastcgi_param SCRIPT_FILENAME $document_root$fastcgi_script_name;
        include fastcgi_params;
    }
}
Save the file and exit.
Step 4: Enable the WordPress
After configuring the Virtual Host above, enable it by running the commands below
sudo ln -s /etc/nginx/sites-available/yourdomain.com.conf /etc/nginx/sites-enabled/
sudo systemctl restart nginx
Then open your browser and browse to the server domain name. You should see WordPress setup wizard to complete. Please follow the wizard carefully.
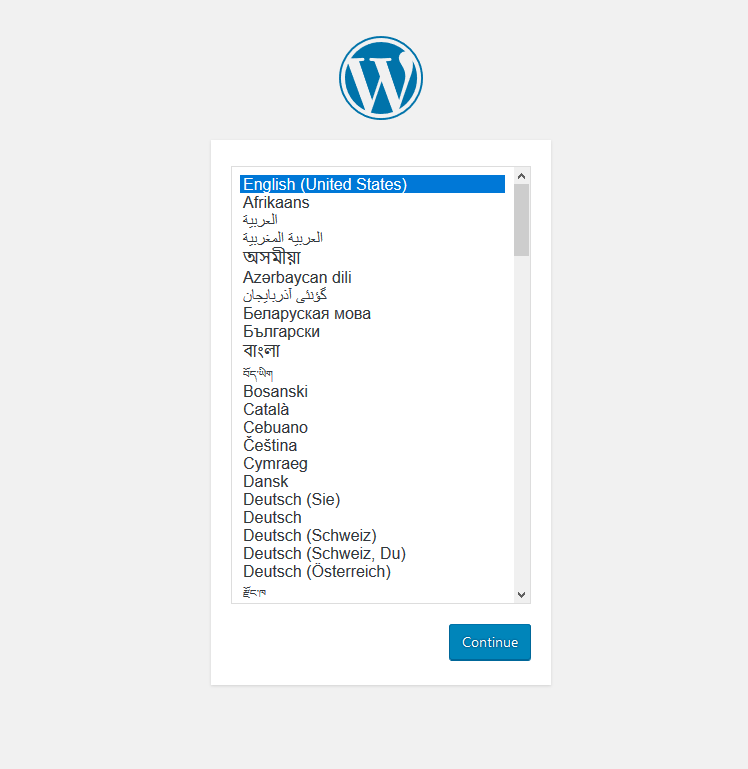
http://yourdomain.comFollow the on-screen instructions. i.e. select the installation language and click Continue.
You will need to know the following
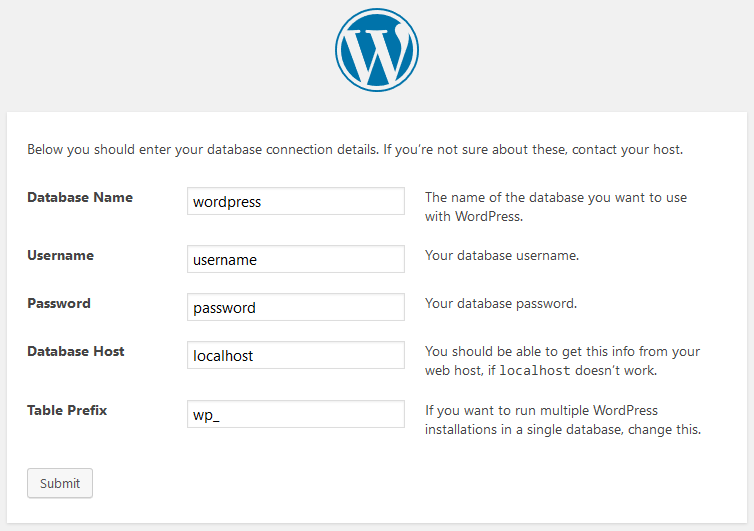
Before getting started, we need some information on the database. You will need to know the following items before proceeding.
- database_name
- database_username
- database_password
- database_host
- Table prefix (if you want to run more than one WordPress in a single database)
WordPress will going to use this information to create a wp-config.php file.

Next, you should enter your database connection details and if you’re not sure about these, contact your host.
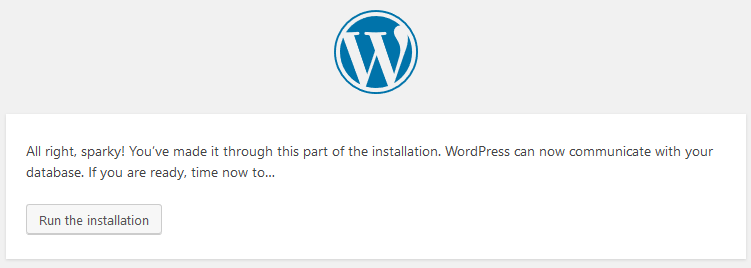
After that, click Run the installation to complete the WordPress setup.
Next, fill in the WordPress site information and then click Install WordPress
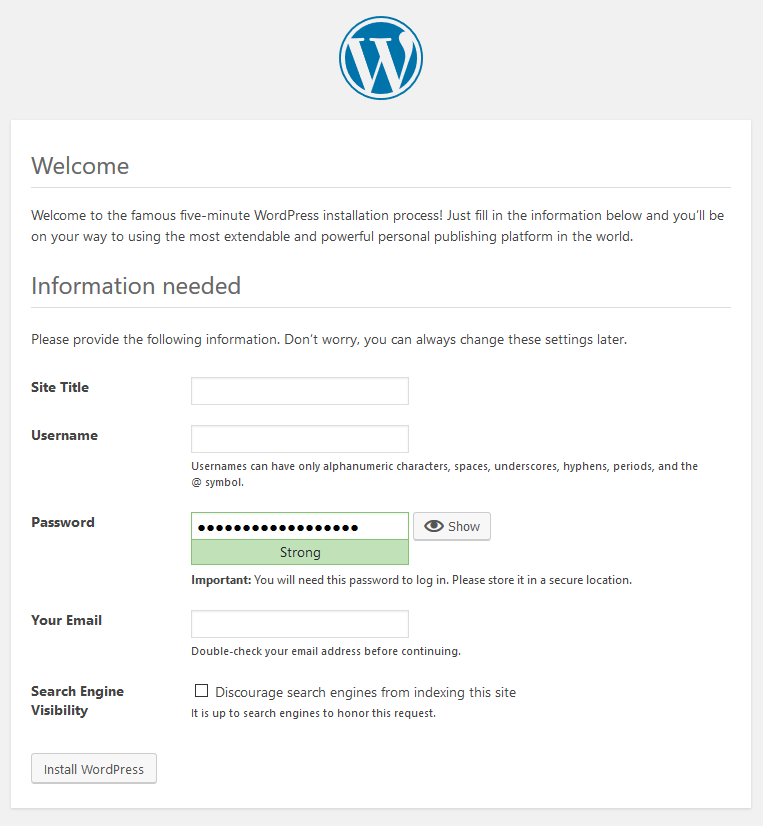
You’re done. WordPress is installed now and ready to use.

I am getting a 403 Forbidden error on my IP, what could be the problem, tried several times on different servers following exactly.
Hi Keith,
It might be the Nginx configuration issue. Can you please share your configuration details?